When creating a mold, many times the base is already defined. Maybe the mold maker has one in stock, or there is an existing mold that a second cavity is being put in. To mold makers many times the geometry of a two parts starts to become a moot point. Two seemingly different parts can require the exact same fabrication steps and similar times as well, and with the heavy use of CNC mills in cutting cavities and cores the whole process becomes routine.
To take a look at the Cavity tool I downloaded a mold from the DME catalog. They helpfully provide models in many formats of there molds. As a side note, opening one of their files is rather neat. All of the parts import, build and save to their own files and the GUI for this reminds me of one of those overally animated interfaces they put in movies. The kind where the hero creates some crazy complex animation with only 2 keystrokes allowing them to see the entire master plan mapped out in seconds.
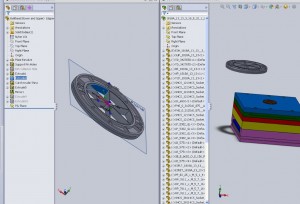
So with the mold assembly created how to go about creating the cavity for the part. First insert the part into the assembly, I like doing this by having both the part file and mold open then just dragging and dropping. On the left is my part, in it I have already created a plane that I suspect will be used as the parting line.
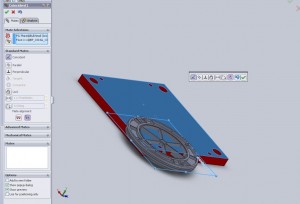
Once inserted the molded part should be mated to put it in place. Using the plane already created (named Parting Line plane) and the flat surface of the B-Plate of the mold the part is placed on the surface I need.  Also of note when working with large assemblies it is worth while to create a display state that only contains the parts needed. For example the display state “A-Plate Modeling” may only contain the molded part in a semi transparent view and the A plate to get all of the pins, sprue components, and other plates out of the way.
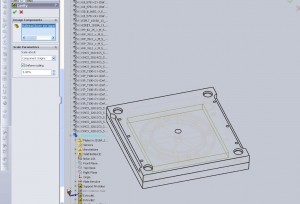
Once the component is in place it is time to use the cavity tool. In-context edit one of the plates
that requires the cavity (Right click on it>Edit Part) and select the cavity tool.  Now select the molded part. In the feature manager an option is given to scale the part. This is to account for shrinkage of a part after molding. As the hot material cools the part will shrink slightly according to the shrink rate for the material. Except in the case of MIM (metal injection molding) which shrinks uniformly, this shrink will also be dependent upon the flow of a part. NOTE: Using the shrink feature in a cavity is not always the best route. Applying a “Scale” feature to the part itself prior to importing also works. Utilizing configurations the scale feature can be suppressed and unsuppressed to create “As molded” and “Actual” configurations.
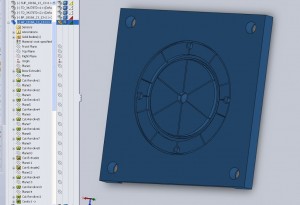
One the cavity feature is created take a look at the plate by itself. Without any complicated features the exact cavity of the component was extracted from the plate.
The cavity tool is a powerful feature and of all the Mold tools seems to be the one that is used most widely in industry. Working from an existing mold base it is simply unnecessary to create parting lines and shutoff surfaces, rather they will be created organically by extracting a cavity from an existing base.
Once the part that is used for a cavity is inserted and positioned (covered in the CSWP core) there isn’t much more to the cavity feature. As with most other CSWP questions be prepared to grab a mass and center of Mass of the resultant part and it should be good to go.
