
This is a guest contribution by Egor Driagin, Chief Marketing Officer at Top 3D Shop.
Today, 3D specialists have learned to print a wide range of items, from small trinkets to rather large objects like vehicle bodies or even houses. Mass adoption of 3D printed wares can change our world. Moreover, the materials used are not just limited to plastic: some of the printers can work with edible ingredients and living cells. Perhaps, in a few years you will own quite a few 3D printed things.
As of now, the easiest way to 3D print something is to create a model yourself or download it off the Internet. If you want to create a copy of an already existing item, it would be best to use a 3D scanner. One of the main elements of a 3D scanner is a camera. Given that the cameras of modern smartphones demonstrate decent photographic capabilities, being able to use them as 3D scanners would be extremely convenient.
Software developers also thought about this and created several mobile apps for 3D scanning. You already know some of them from 3D Engineer’s previous posts. Although at first sight it seems that Play Market is filled with such programs, later it becomes quite clear that your choice is limited. First of all, a significant number of these apps are designed only for viewing ready-made models. Secondly, programs like EORA 3D or AUTOSCAN require purchasing specifically designed scanners in order to function.
Thirdly, some apps only work with devices supporting the Tango platform by Google. However, there are several decent options.
SCANN3D
When you first start the application, you need to sign in with your Google account.
Then you will see a simple user interface with three icons: New model, My models and Continue.

Before you create your first 3D model the application will brief you on how to properly scan an object.

At the beginning the app will inform you that you need to move your smartphone around the object, and not the object itself. It is recommended to choose textured things in order to create a good model. Don’t scan transparent or moving objects. Make sure that no hard shadows are thrown across the object and that your camera is close enough.
The work of the app is based upon the fact that at least 20 photos must be taken, then they overlap and form a 3D model. If you want your model to be precise, make sure that every part of the object appears at least in 2 pictures. The last photo should be taken when a full 360-degree circle is completed. Do not circle back at this point.
Having read all the tips, get to scanning itself. In order to achieve good results try to take more photos.
When you first take a picture the object will be outlined with high-contrast points.

Once you have taken a shot the points turn red. To take the next photo, rotate your camera until the points turn green.

If you suddenly move your camera away the app will warn you that the position has been lost and will show you the last captured position.

Once you have finished a full circle around the object, the app will let you choose the quality of the processing: Normal, High or Ultra. High and Ultra presets require a monthly subscription.

Processing takes approximately 10 minutes depending on the chosen quality and quantity of photos. The app will show you various recommendations during processing so that you don’t get bored.

Now let us see the result.

The final result turned out OK, but the flat surface appears distorted in the model. Shadows seem unnatural and the surface looks uneven.

The object was actually placed on the floor.


Unfortunately, SCANN3D can’t separate objects even from a homogeneous background. Moreover, a flat surface may sometimes appear uneven.

The formed model can be exported but this feature is only available to PRO accounts. This requires a subscription for €5.99 a month.
The great thing about this app is that it allows to go back to a set of previously taken pictures, exclude all unwanted images and create a completely new model.

Qlone
To begin your work in this application you will need to print a black and white AR mat that can be downloaded directly from the app. The size of the mat directly depends on the size of the chosen object. The mat should be printed smoothly and not on enamel paper.
In this case, it doesn’t matter whether you move the camera around the object or the object itself. But it seems that moving a mat with the object is way easier.
The app constantly checks if the mat is fully captured by camera lens. It helps the program with identifying and distinguishing between different sides and angles at which the object is captured. If the whole mat is in the frame a half sphere will appear with several small sections.

Tapping the red dot starts the scanning process. Once the app has scanned a sector, it becomes transparent.

In the lower right corner, the prototype of your model is displayed. As the scanning goes from the upper to the lower levels this prototype more and more resembles an actual object.


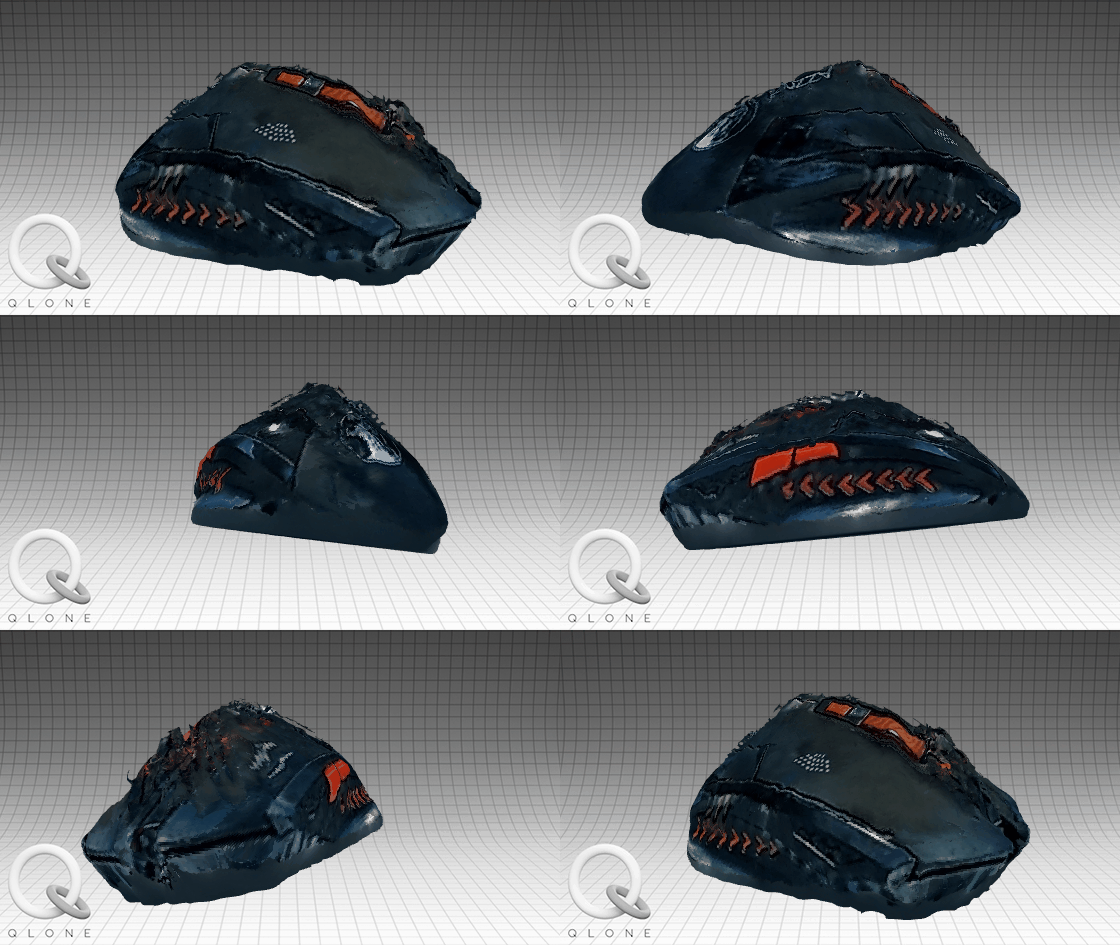
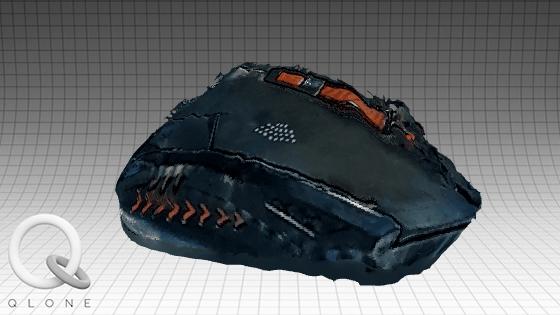
After the scan all sectors are processed. The processing is fast, especially in comparison with the first application we mentioned. The object itself is separated from the background and can be rotated 360 degrees.

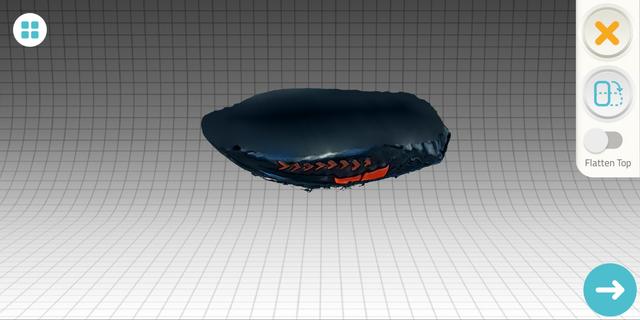
The app has a “Flatten top” feature that works great when tapered tops of objects need to be corrected.

It is noticeable that the side of the object that touched a paper sheet comes out a bit unclear.


Gifs, photos and videos can be downloaded from Qlon free of charge, but you will have to pay for the model itself in a format suitable for further processing or 3D printing. Exporting a model costs between €0.44 and €1.09. Exporting 25 models in one go comes with a discount.
Let’s see how Qlone handled the creation of a 3D model:


Capture
Capture is a free iOS app that lets you create high-definition scans, using iPhone’s TrueDepth camera. While it too has difficulties distinguishing between the background and the object, especially when objects are small, its ability to capture well-detailed human scans amazed us.
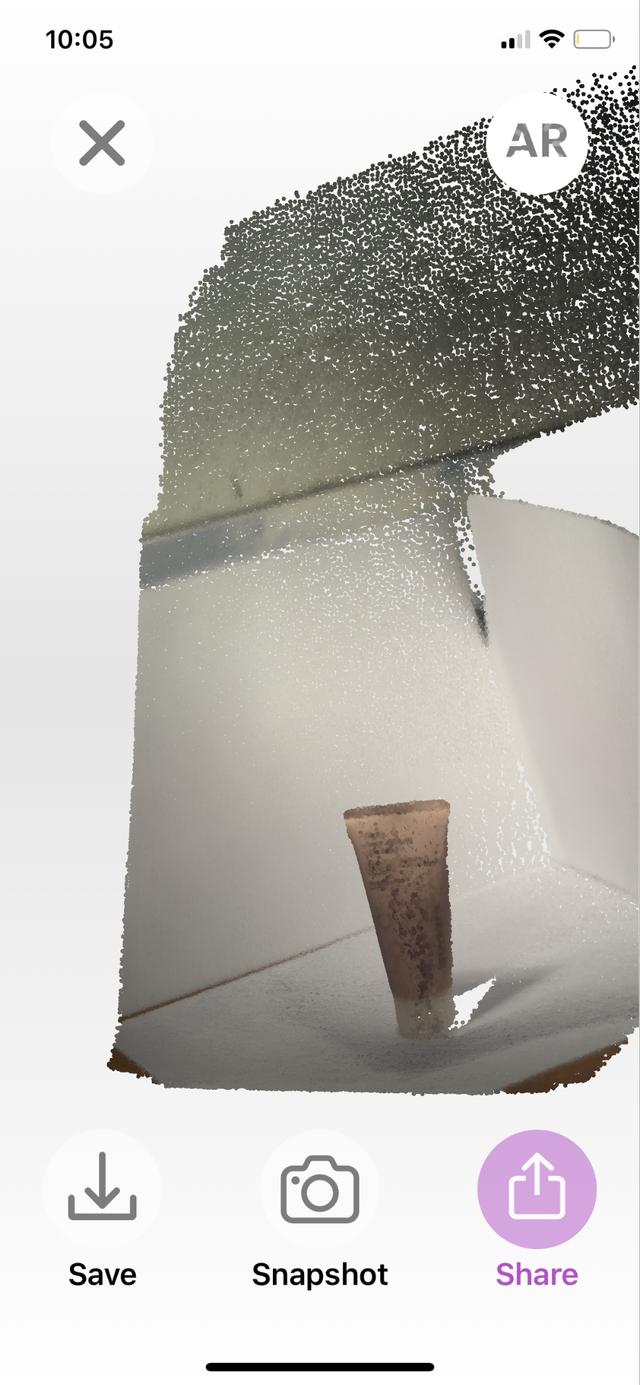
Unable to separate the background and the object
To keep our user testers’ identities private, we will only show an example scan of a hand. Notice how the app focuses on the ‘object’ once it goes into the scanning mode.
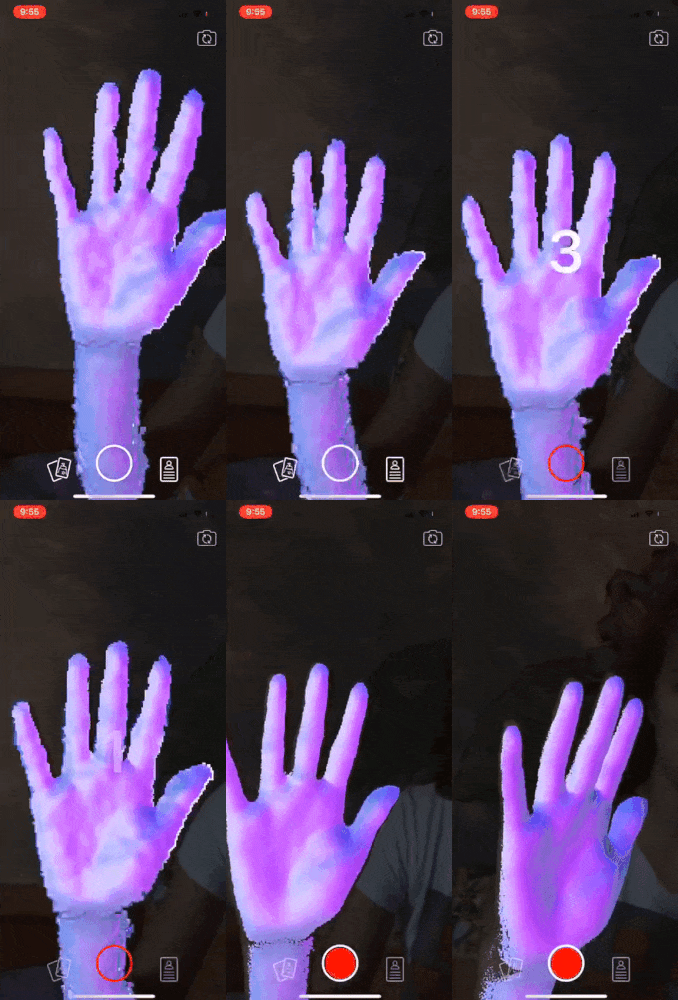
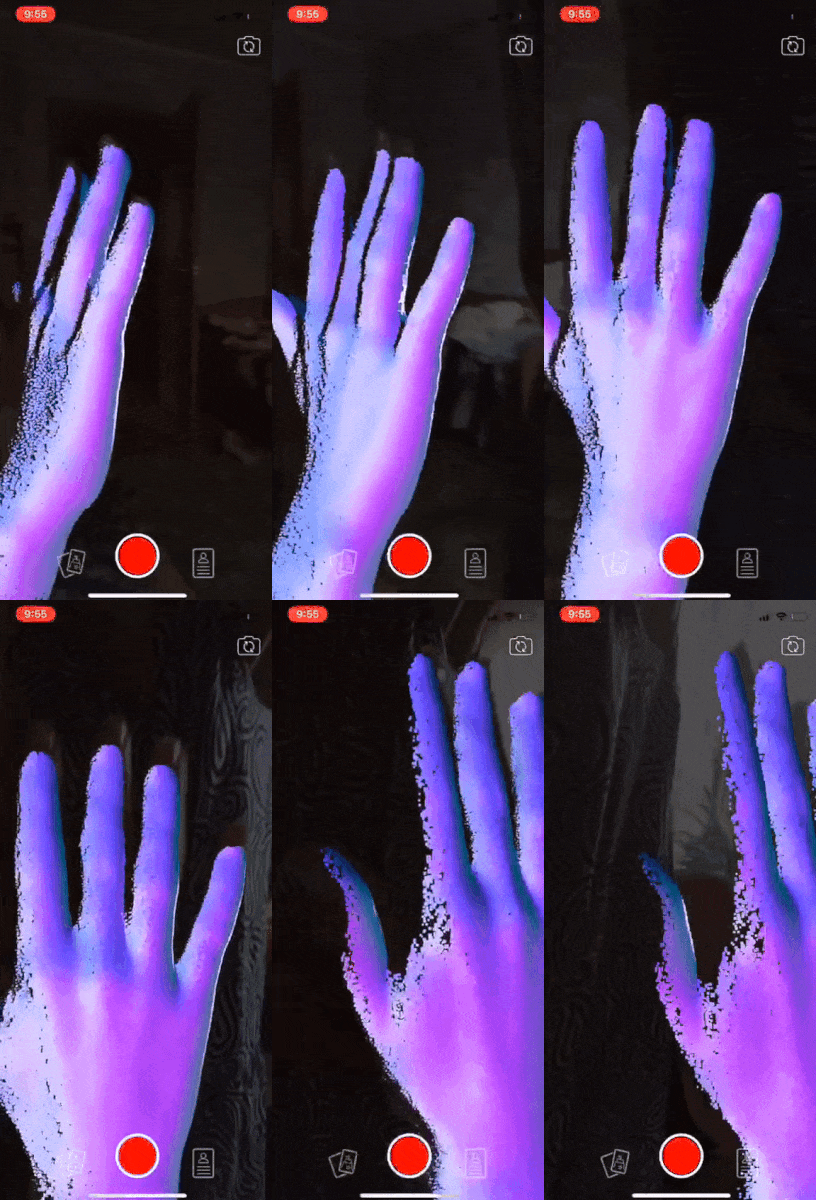
To create this scan, we’re smoothly moving the camera around the hand:
The final result appears as a 3D model that can be evaluated from all sides.
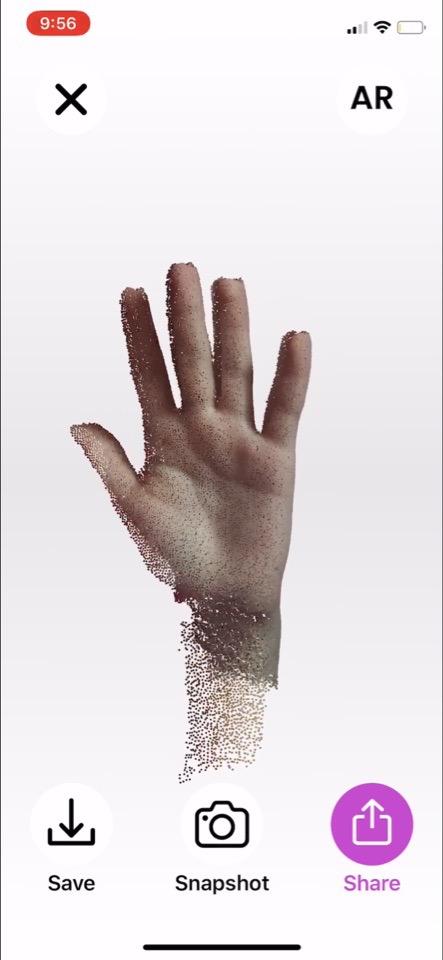
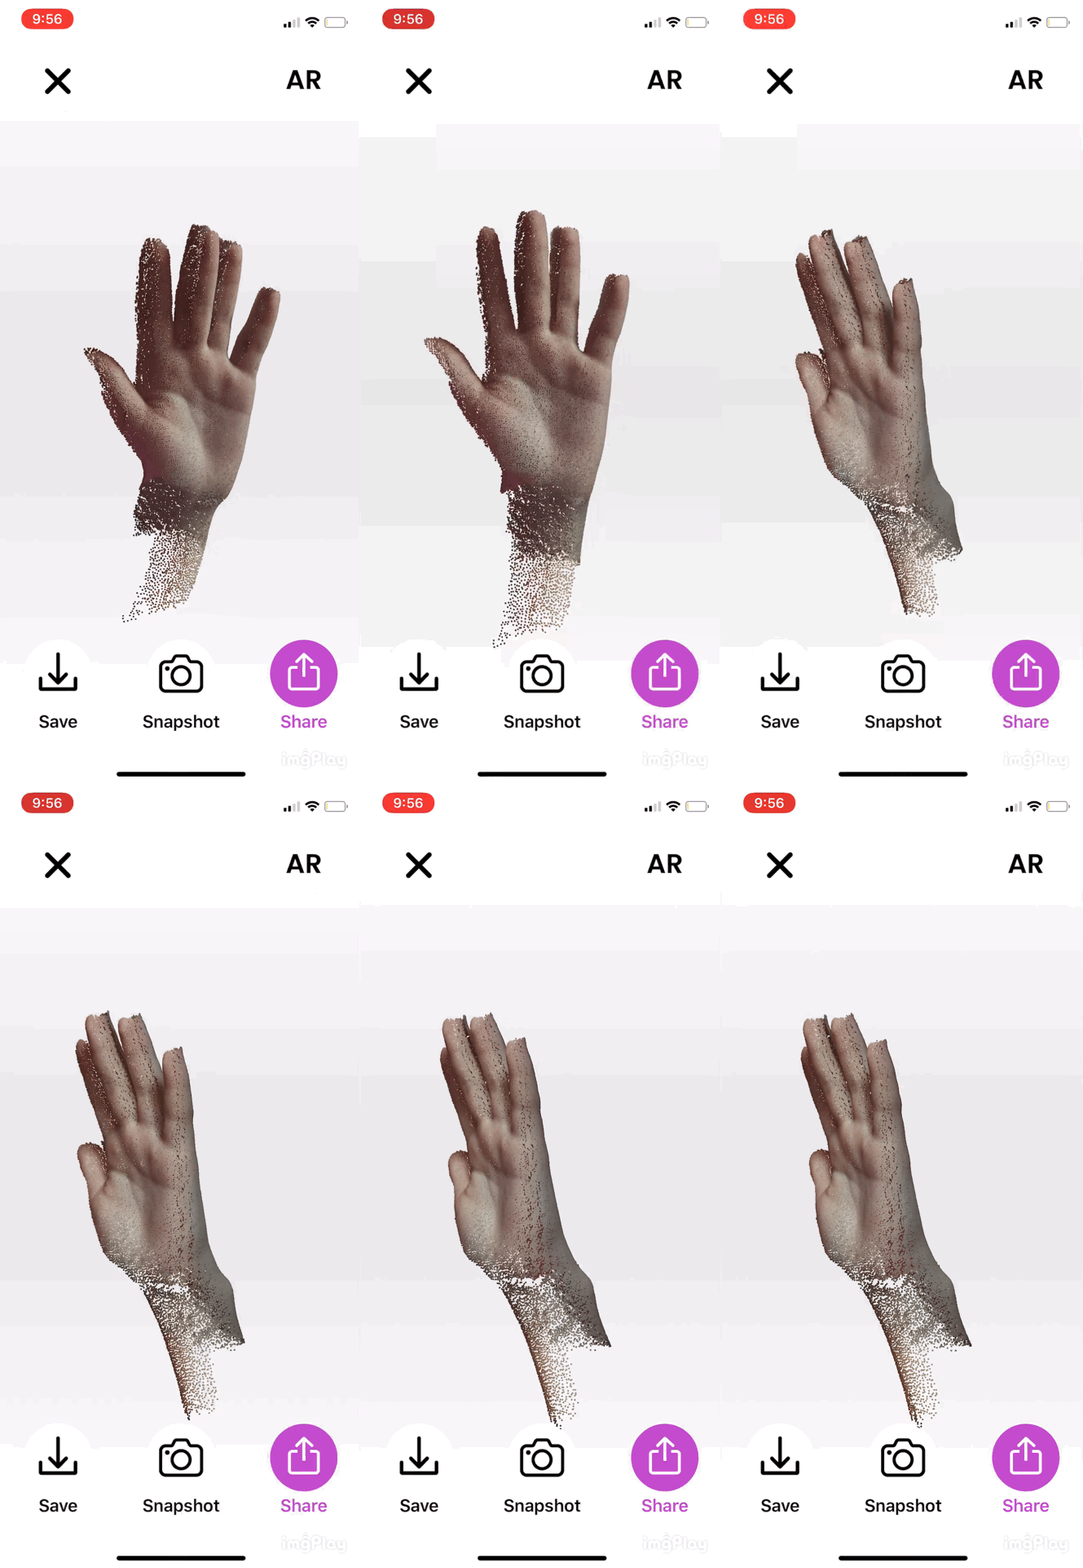
This particular scan didn’t fully capture the left side of the palm, but notice how clear the palm lines are. That’s the level of detail we got when we scanned the user tester’s upper body.
From here, you can download the files in OBJ or PLY format. To make it more fun, the app lets you share the scan with your friends via iMessage, Slack, WhatsApp or other apps.
Conclusion
Thus far, smartphone apps are not bad at scanning various objects. However, if you wish to 3D print the models, this will require further processing. But even with this software you can improve your results by making a few adjustments to your workflow. For example, when using Qlone one may think of a way to securely fix the smartphone at one position and create a rotating stand with a mat. As for Scann3D, a way to uniformly rotate the camera around the object would greatly improve your results.
