There are tons of times where inserting an image helps make a spreadsheet of data look more professional and function much better. Getting the right image can be a bit cumbersome, but knowing the tools included can go a long ways. Built into Excel is a very useful feature that lets you take a screenshot and embed it all in one move. Sure you can first take a screen shot, save it somewhere, then insert it as a new image but why bother with the extra steps.
Insert a Clipped Screenshot
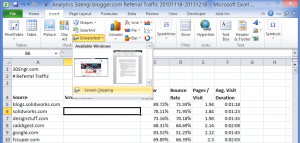
From the “Insert” Tab select the screenshot drop down menu.
 |
| Figure 1 – Screenshot options in Excel |
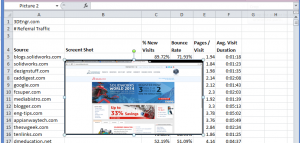
Automatically Excel will give you the option to embed any other open window. This, in my opinion, is not that useful for two reasons. First it is likely to require the additonal step of cropping the image. The second is the overall size of the embedded image. Do this more than a few times and a file quickly gets to large to send through most email systems.
 |
| Raw window insert. See the black bands around the image and extra space that should be cropped. |
Editing the image is easy from the Format tab, but why bother. The other option from Figure 1 is to use screen clipping. Select it and the Excel window will disappear, the screen will go gray, and you will be given a cross hair. Simply drag select an area to include and voila.
 |
| Clipping Select for a screen shot to keep the image and file small |
By only selecting the area required the image is kept very small.
Compressing Images in Excel to Make a File Smaller
In case the file is still to big it is worth pointing out another useful feature – compress images.
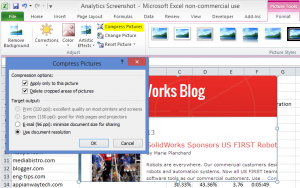
Select an image then click on the “Picture Tools-Format” menu tab. Choose “Compress Images” which can help shrink a file size drastically and make it much easier to open on slow connections or send via email.
 |
| Choose “Compress Pictures” to reduce the overall file size of a spreadsheet with embedded images. |
