Here we discuss nine factors that can affect your 3D printer quality and although these can apply to all 3D printers, it is mainly focused towards the MakerGear M2.
Like many things, often it is the user who is the problem and not the tools that he or she are using. It can be very easy to start blaming your machine for not performing as expected, particularly when the price tag of some of these machines are in the thousands.
So here are several reasons as to why you may be responsible for your models coming out worse than expected. Bottom line, give your MakerGear (or any printer for that matter) a chance by following the below steps:
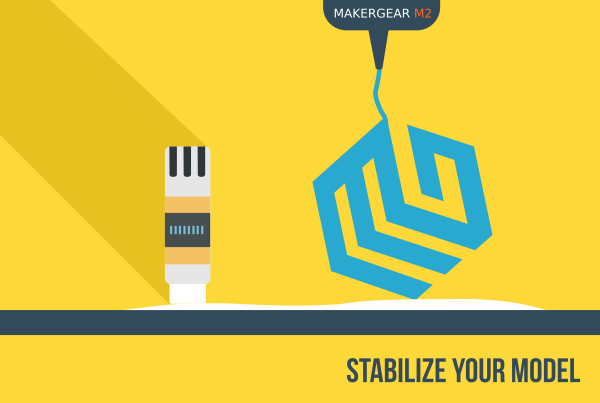
- Stability
Your model has to be stable during printing, especially with such 3D printers with a movable flat bed (such as the Makergear M2). Combine this with the fact the nozzle has to come in precise contact with your model to add layers accurately, means any movement of your model will creating issues with your print. Therefore having your model stay as sturdy as possible is vital… here are three methods of achieving this:
- Hair Spray: One relatively popular method is to spray your flat bed with hair spray and lots of it. However, the down side is, you need to wait for some time for the thick layer of spray to start drying into a sticky state before starting your print.
- Blue Tape: Without a doubt, blue tape does its job which is to be sticky and as a result holds your model in place. However it can be pretty awkward to prep and often does its job too well, where the model really does get stuck. This can force you to pull at your model to release it, consequently damaging it.
- Glue Stick: If all else fails, trying Elmer’s Disappearing Purple School Glue Sticks for adhesion is the next step to follow.
Simply apply the glue on the flat bed over an area a little bigger than the printing part. The idea is to start printing before the glue dries out, which in turns allows the model to stick to it. The beauty with this method is the adhesion is strong enough to hold the model in place, but should also pop off when the bed and model cools down. An added bonus is that running hot water over your bed will remove the glue residue ready for the next print.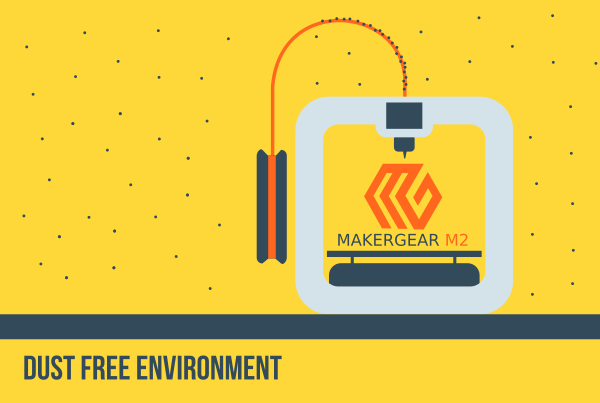
- Clean Environment
Let’s face it, these printers are cool because they are affordable and can easily be used at home or small office spaces. However, one thing we do not really consider is how dust free the area is where our printer rests (many may put their printer out in the garage not to occupy living space).
Dust particles can single handedly compromise your model’s quality. This happens when dust floats onto your filament and eventually makes its way into the nozzle causing a blockage and consequently compromising your model’s quality.If you find that quality issues are occurring more often than your like, then consider that dust may be the culprit. To combat this problem, you can either use a filament filter or a make shift dust trap whereby getting a lint-free cloth and wrapping it around your filament with a cable tie (not too tight that it restricts your flow of filament).
- Dry Environment
Similar to dust, we also need to consider moisture in the air. Certain regions are more humid than others and this too can have a direct impact on printer quality. Filaments like PLA are particularly good at absorbing moisture and as a result swell up. When it is then fed through your hot end, it can easily fully or partially block your nozzle, furthermore, the heat through the hot end can turn the moisture into steam vapors which can permanently damage your hot end.
Although moisture cannot be avoided at all costs, there are a few tips & tricks to assist, particularly when buying filaments in relative bulk that are going to be stored away for some time. One of my favorite options is buying vacuum bags, particularly those with a double zipper line to hold the vacuum in for longer and to prevent dust & moisture form coming in. Do not forget that these bags cannot hold a vacuum indefinitely, so if you are storing your filament for long periods of time be sure to throw in a silica-gel pack or two.
- Filament Quality
Depending on your requirements on quality standards, the filament you purchase can have a direct influence on how your model comes out. There is absolutely noting wrong with purchasing a $20 spool, particularly for quick prototyping etc. However, if your goal is to achieve the best quality / accurate print possible, then consider that the less expensive filaments (in general) have differences in diameter throughout its length.
This means that areas that have a wider diameter will have more material for the nozzle to deal with which increases chances of clogging. If you do not experience clogging, the different diameters can still effect the print quality as your material coming out of the nozzle will not be constant.
If complete clogging occurs often, consider purchasing better quality filaments as in the long run it will be cheaper.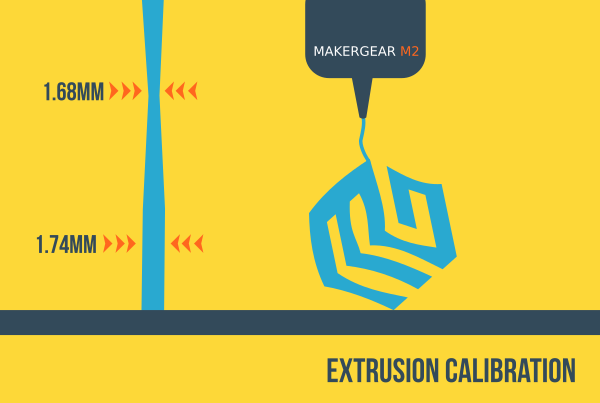
- Extrusion Calibration
Related to point 4. above, extrusion calibration is taking the differences in diameter throughout the entire filament length in to consideration, in order to print your models to the same exact dimensions as designed on CAD packages.
As the diameters of many filaments vary throughout their length, this can result in your model not being printed to the precise dimensions due to varying extrusion rates of the material. Here are some steps to take into consideration to combat the issue.
- Step 1: Measure the thickness of your filament (diameter) throughout several points along its length. The more readings taken, the more accurate.
- Step 2: Take the average reading of the filament thickness and enter it as your “filament diameter” on your slicer software.
- Step 3: Print out a model that has a wall thickness, such as a pipe for example.
- Step 4: Measure the wall thickness at several points with calipers and take an average reading. For this example we will say the average wall thickness is 0.45mm
- Step 5: Double check what the actual wall thickness should be using your 3D package.
For this example we will say the thickness should be 0.5mm - Step 6: Take a note of your “Extrusion Multiplier”.
For the sake of this example, we will say it is 0.9 - Step 7: We now want to calculate a new “extrusion multiplier” which we do by using the figures above:
0.5/0.45 * 0.9 = 0.99
- Step 8: Your new extrusion multiplier is 0.99 which you now input on your slicer software.
- Step 9: Your model should now print with a wall thickness 0.5mm (correct thickness)
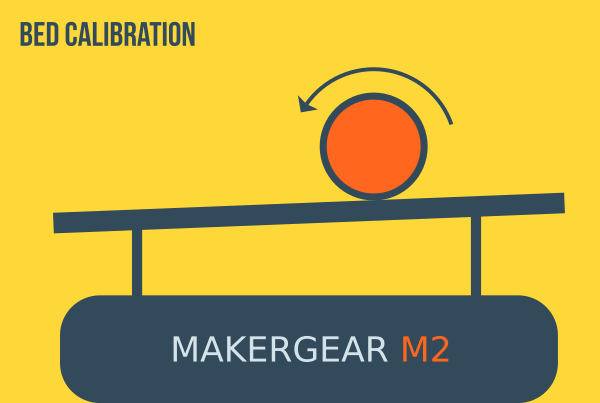
- Bed Leveling Calibration
A pretty obvious statement to make is that if your bed is not level (the distance between the nozzle and the bed being the same throughout the bed area) then there will be potential issues with the accuracy and quality of your print.
If you start to see some small quality issues with your models, then it is time to check your bed.
- Step 1: The Makergear has a spider and spider mounting plate attached by 3 screws beneath the bed. Make sure to loosen these screws slightly.
- Step 2: Raise the bed until it is pretty close to the nozzle
- Step 3: Using a sheet of paper is a great gauge for bed leveling. Get the paper (typically 80g/m2) and place it on the flat bed.
- Step 4: Lift the flat bed up a little further until you sandwich the paper between the nozzle and bed. Do not sandwich too hard as you want to be able to mover the paper enough so that there is some resistance without it catching / tearing against the nozzle.
- Step 5: Do the same thing but with the four corners of the bed. If you notice a gap on one corner tighten the corresponding screw to close the gap so that when you run the paper under it, you get the same amount of friction as on Step 4.
- Step 6: Rinse and repeat the process on the other corners of the flat bed.
- Step 7: You should now have a perfectly level bed.
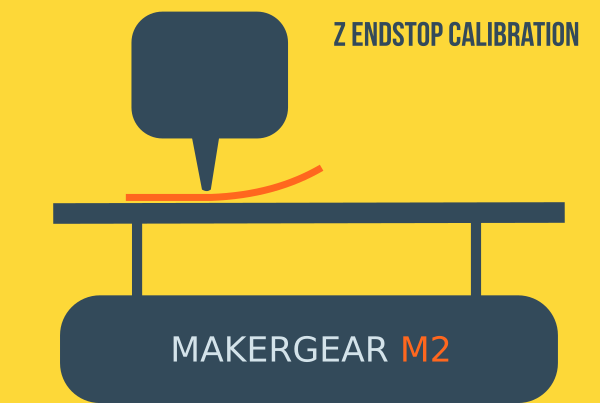
- Z Endstop Calibration
The nozzle has to be a set distance from the flat bed. That distance should be about the thickness of a business card – 12pt (0.3048 mm). Calibrating this correctly is important for accurate printing (be sure to level your flat bed first as shown in point 6. above).Step 1: Use an M4 wrench to loosen the bottom nut of the threaded bolt that controls the positioning on the Z endstop.
Step 2: You may now use your fingers to adjust the Z endstop height by twisting the long bolt.
Step 3: Adjust the height. Once you are able to slide a business card between the nozzle and flat bed with a slight bit of friction (without ripping the card), you are good to go.
Step 4: Turn the Z endstop bolt until it activates the Z endstop switch (red LED will light up and then hear a click)
Step 5: Finally use the M4 wrench to tight back up the bolt that was loosened on Step 1
Step 6: Press “Home” in your control program to test the Z endstop location. Wait for the flat bed to position itself relative to the nozzle.
Step 7: Finally get your business card and once again slide it between the flat bed and nozzle to see if you still feel some friction.
Step 8: You are good to go.
Note: If you start to hear a “clicking” sound coming from the extruder stepper motor. This could be an indication that the nozzle is too close to the flat bed causing the filament to build up and clog the nozzle. This is happening as the nozzle does not have the sufficient gap to fully extrude at the correct rate causing the clog.
- Loosening Of Moving Parts
This one is self explanatory, however, it is a good idea to get into the habit of checking for any loose parts / nuts, bolts and screws.
As with any mechanical moving parts, they will need some sort of checking or servicing over time. So it is a good idea to check that all fasteners are tight and not loosening…this could easily effect your final prints.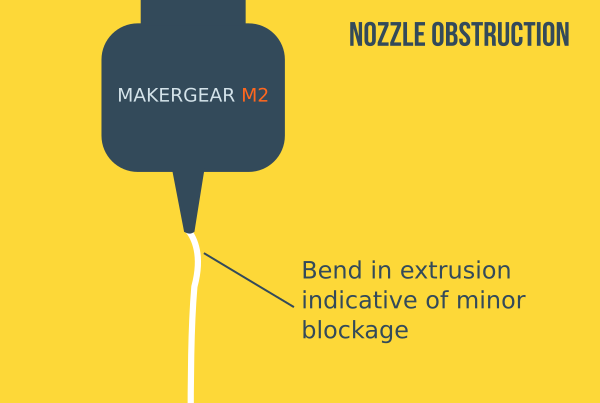
- Nozzle Obstruction
Most will associate a clog as a complete block whereby no material is being extruded out. However, it is partial clogs that still allow your material to be extruded but compromises the model’s integrity and quality because it interferes with the direction of extrusion and flow rate. This one catches people out the most, as they do not even know there is a clogging issue.
The best way to determine minor clogs is by running your filament through the nozzle. If you notice the filament curling slightly before straightening up again, then you could have an issue.
Simply remove your nozzle, place it in a jar of acetone and let it soak for a couple of days… it is always good to have a second nozzle handy so you can continue printing. Note: Acetone is highly flammable, so keep away from ignition sources.
If you want to learn more about using the MakerGear M2, you can visit Alex’s Makergear Tips & Tricks Guide.
About the Author:

Alex McIl comes from an engineering background where he was introduced to 3D Computer Aided Design & Rendering. He is now the author of apm-designs.com (3D printers explained) and can be followed at @apmdesigns.

I didn’t realize how much of a different the bed level would make. This is really interesting! Thanks so much for sharing.